
As a coffee lover, one of the most exciting moments of making a coffee drink at home is steaming milk. Whether it's for a smooth cappuccino, a creamy latte, or a rich flat white, the texture and temperature of your milk can make all the difference. Over the years, I’ve experimented with different tools and methods, but steaming milk on the Breville is by far the most rewarding experience. In this guide, I’ll walk you through the entire process and share tips I’ve learned along the way to ensure you get the perfect steamed milk every time.
Why Steaming Milk on the Breville is So Great
If you're reading this, chances are you’ve already invested in a Breville espresso machine, or you’re considering one. The Breville brand is known for creating high-quality machines that make brewing espresso and steaming milk a breeze. What makes the Breville stand out is its user-friendly features, consistency, and power. For anyone who enjoys coffee but doesn’t want to spend a fortune at coffee shops, steaming milk on the Breville is the perfect solution.
The Breville machines often come with a steam wand, which is the key tool for frothing milk. The steam wand uses pressurized steam to heat and aerate the milk, giving it that perfect velvety texture. By the end of this guide, you’ll feel confident in your ability to steam milk like a pro using your Breville.
Getting Your Breville Ready to Steam Milk
Before we dive into the actual steaming process, it’s essential to prepare your Breville machine. This first step ensures that everything runs smoothly and gives you the best results.
Fill the Water Tank: Make sure the water tank is filled with clean, filtered water. This is especially important if you have hard water in your area, as minerals can affect the taste of your milk and coffee.
Turn on the Breville Machine: Turn the machine on and let it heat up. Depending on the model you own, it can take a minute or two for the machine to reach the ideal temperature.
Purge the Steam Wand: Before you start steaming your milk, it’s important to purge any leftover water or milk from the steam wand. Simply turn on the steam for a couple of seconds into a damp cloth or paper towel. This step prevents any water from mixing with your milk, which can ruin the texture.
Prepare Your Milk: Use fresh, cold milk. Whole milk is often the best choice because it creates a smooth and creamy texture when steamed, but you can also use alternatives like oat milk or almond milk. Just keep in mind that different types of milk steam differently.

How to Steam Milk on the Breville: Step-by-Step
Now that you’ve got everything ready, it’s time to steam your milk. Follow these steps, and you'll be on your way to making perfect steamed milk on the Breville every time.
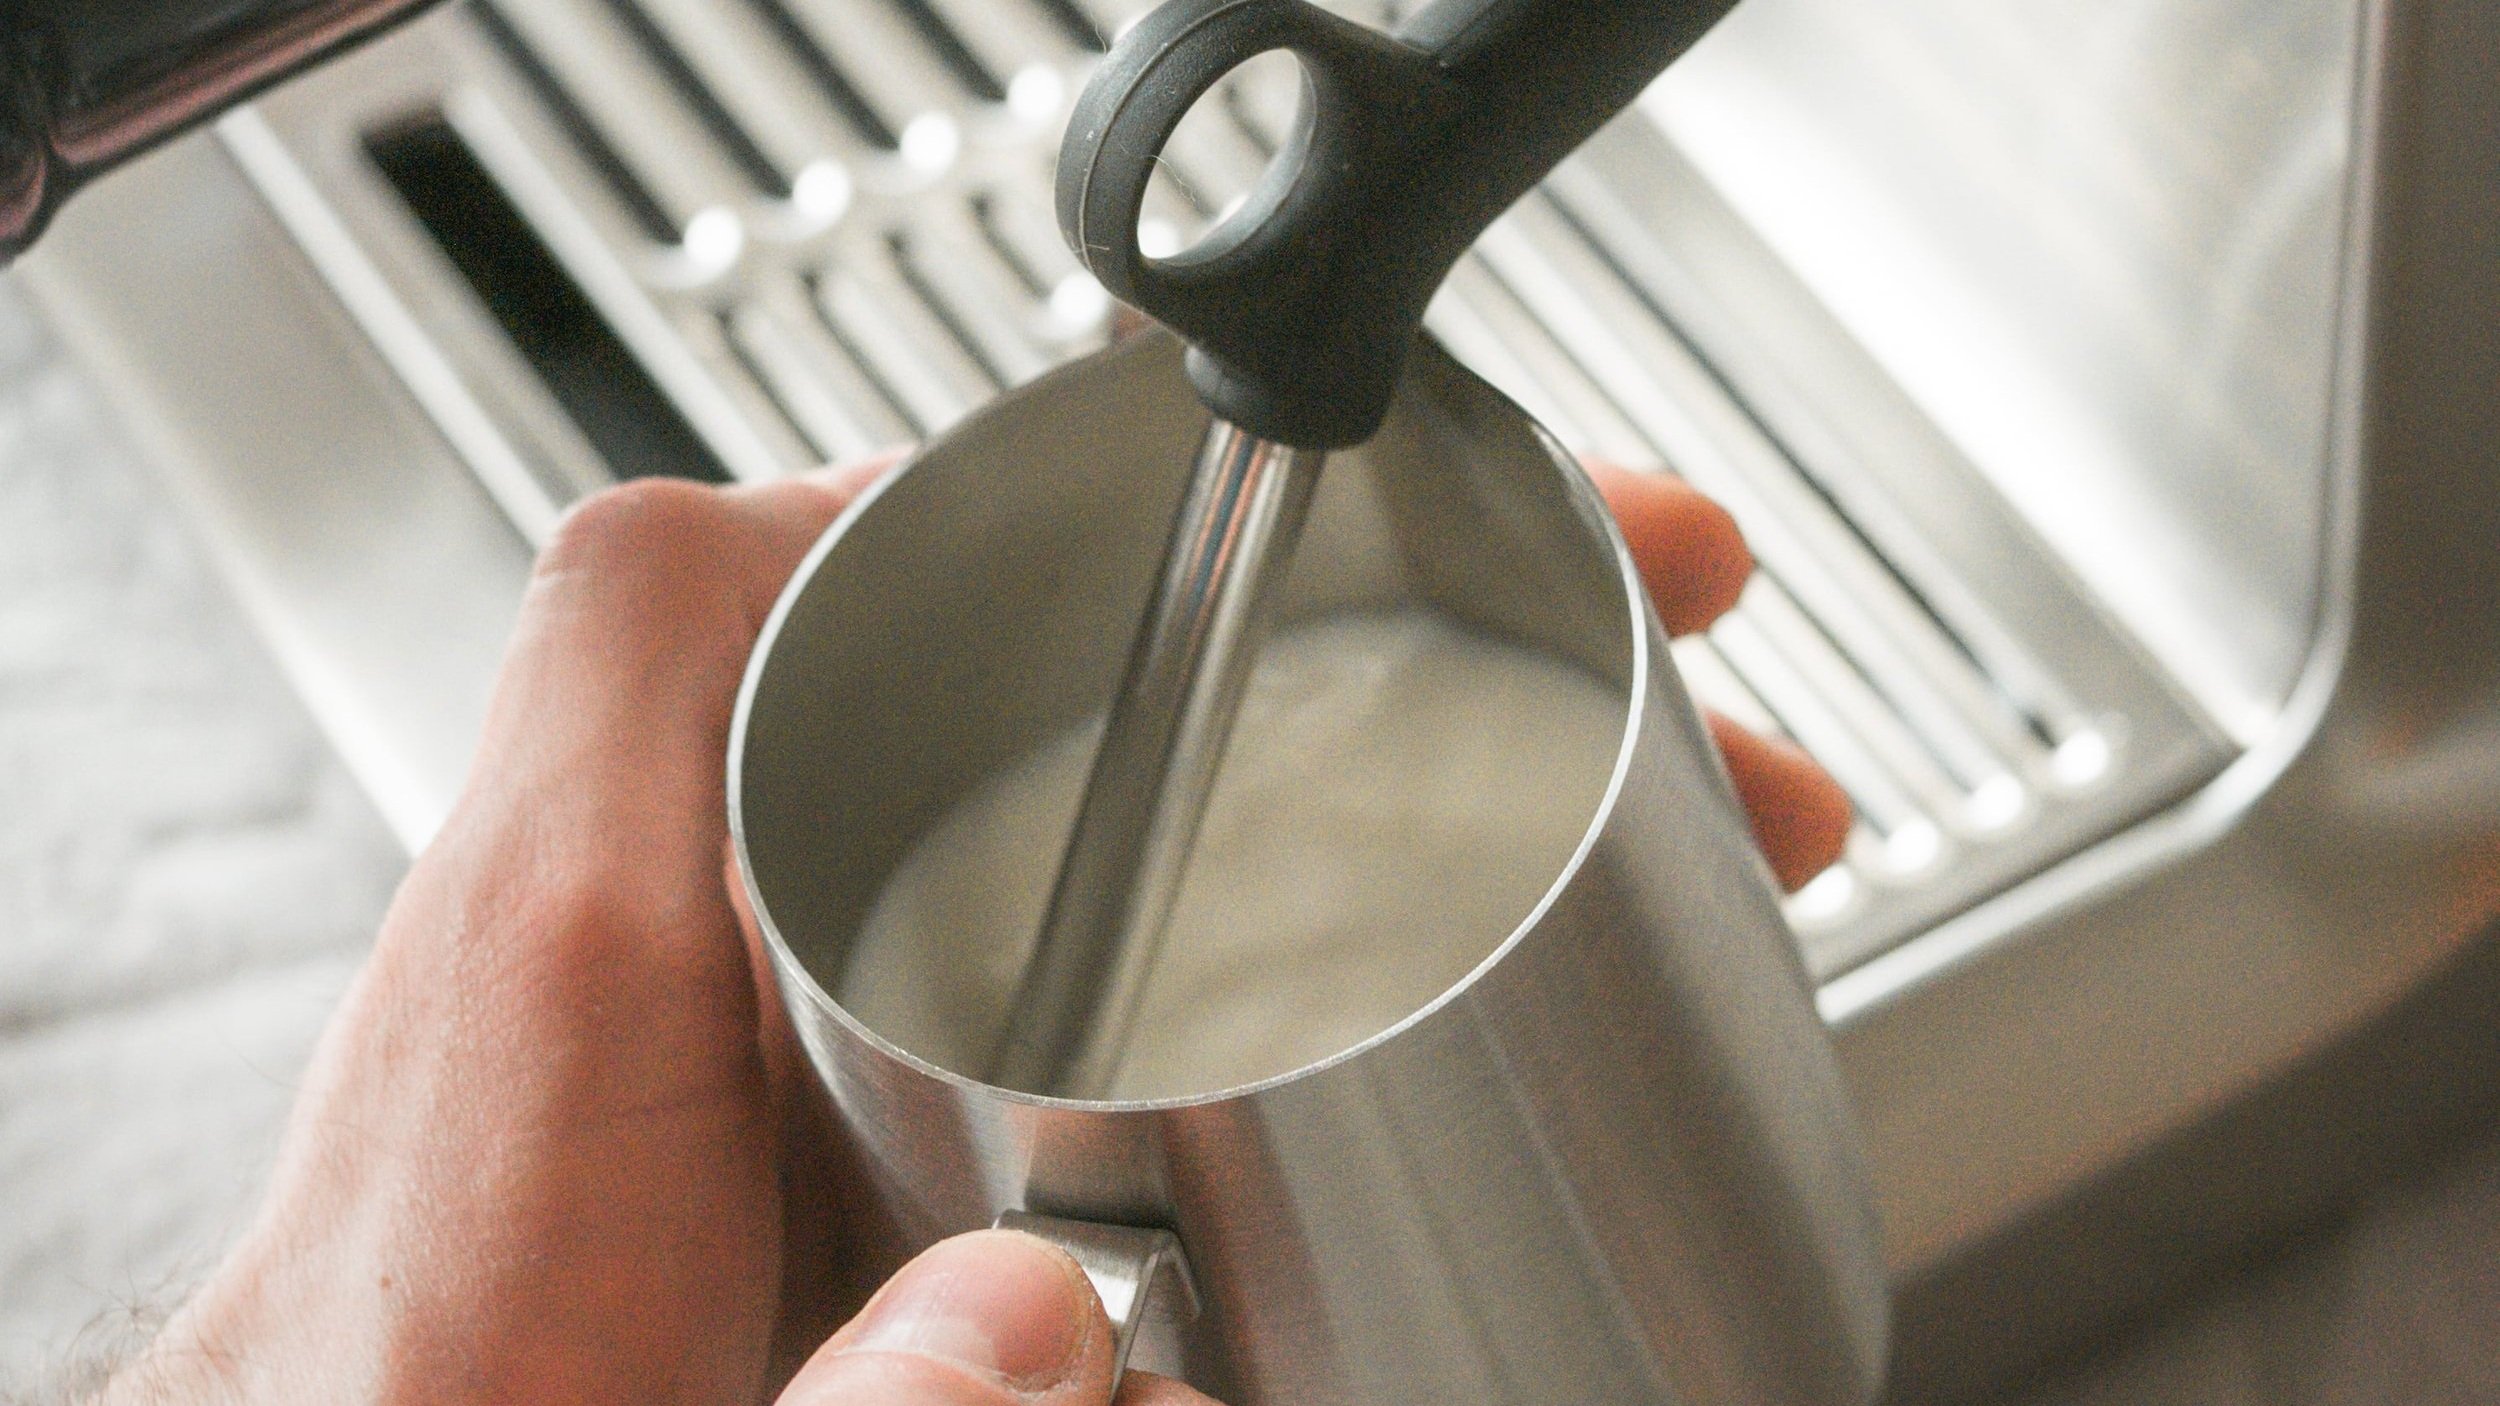
1. Position the Steam Wand
Place your milk jug under the steam wand, ensuring the wand is just below the surface of the milk. If the steam wand is too deep, you won’t get enough froth; if it’s too shallow, the milk won’t heat evenly. You’ll want the tip of the wand to be slightly below the surface but not too deep.
2. Start Steaming
Turn on the steam function on your Breville machine. The steam will start coming out of the wand, and you’ll notice that the milk will begin to whirl around in the jug. This is when the magic happens. At this stage, the milk is being both heated and aerated.
3. Monitor the Sound
The sound of the steam is a good indicator of how well you’re doing. When the steam wand is positioned correctly, you should hear a slight hissing sound. If the sound is high-pitched or screechy, your steam wand is too close to the surface of the milk. If it’s too quiet, the wand is too deep in the milk. Aim for a gentle, consistent hiss.
4. Achieve the Right Temperature
As the milk steams, it will begin to increase in temperature. Ideally, you want your milk to reach about 150°F (65°C). You can use a milk thermometer to ensure accuracy, or you can simply feel the side of the milk jug. When the jug becomes too hot to touch comfortably, you’re in the right range.
5. Create the Perfect Froth
The key to good froth is aeration. To achieve this, you need to position the steam wand just below the milk’s surface at the right angle. As the milk aerates, you should notice the volume increase and the texture becoming smooth and creamy. You can gently swirl the jug to help incorporate the air evenly into the milk.
6. Finish Steaming and Clean the Wand
Once your milk has reached the desired temperature and texture, turn off the steam and remove the jug from the wand. You’ll now have beautifully steamed milk ready to pour. Don’t forget to clean the steam wand after each use to avoid milk residue buildup, which can affect future steaming.
Common Mistakes to Avoid When Steaming Milk on the Breville
Even with the best equipment, mistakes can happen. Let’s look at some common mistakes I’ve made over the years and how you can avoid them.
Not Purging the Steam Wand
It’s easy to forget this step, but skipping it can result in water mixing with your milk, ruining the froth and making your drink watery. Always purge the steam wand before each steaming session.
Using the Wrong Milk Temperature
Milk that’s too hot can burn and lose its sweetness, while milk that’s not hot enough will lack the creamy texture you’re after. Keep an eye on the temperature and ensure it doesn’t exceed 150°F (65°C).
Over-Steaming the Milk
It’s tempting to keep the steam on for longer, but doing so can lead to over-aeration, causing the milk to become too foamy and dry. Aim for a smooth, velvety texture rather than a mountain of foam.
How to Make Latte Art with Steamed Milk on the Breville
Once you’ve mastered steaming milk on your Breville, you might want to take it a step further and try your hand at latte art. It’s a fun and impressive way to elevate your coffee skills.
The key to good latte art is a consistent, velvety milk texture. Once your milk is steamed, pour it gently over the espresso at the right angle. Start with a small, slow pour and increase the speed as you reach the center of the cup. With a bit of practice, you can create beautiful designs like hearts, rosettas, or even intricate tulip patterns.
Troubleshooting: Why Your Milk Isn’t Steaming Right
Sometimes, even when you think you’re doing everything right, the milk just doesn’t steam the way you want it to. Here are some common issues and solutions:
- Milk Won’t Froth: This could be due to the steam wand not being positioned correctly, or the milk temperature is too low. Ensure the wand is close to the milk’s surface and the milk is cold at the beginning.
- Burnt Milk: If your milk tastes burnt, it’s likely that the temperature went too high. Try steaming at a lower temperature, and avoid letting the milk sit on the steam wand for too long.
- No Foam: If you’re not getting the desired foam, check if your steam wand is clean. Milk residue can build up and affect the aeration process. Cleaning the wand after each use is essential.
Conclusion: Steaming Milk on the Breville Made Easy
Steaming milk on the Breville is a straightforward process once you get the hang of it. With the right tools, patience, and a bit of practice, you can create delicious, café-quality drinks in the comfort of your home. By following the steps outlined in this guide, you’ll be able to steam milk like a pro and enjoy your coffee creations to the fullest.
Remember, practice makes perfect. Don’t get discouraged if it takes a few tries to get everything right. Soon, you’ll be able to steam milk with precision, creating the perfect texture for your lattes, cappuccinos, and more. Happy steaming!
Frequently Asked Questions
Q: What kind of milk should I use for steaming on the Breville?
A: The best milk for steaming is whole milk because it creates a smooth and creamy texture. However, you can also use plant-based milk like oat milk, almond milk, or soy milk. Keep in mind that different types of milk will froth differently, with some alternatives producing less foam.
Q: How do I know if the milk is at the right temperature?
A: Ideally, your milk should reach about 150°F (65°C). You can use a milk thermometer to measure the temperature, or you can simply feel the side of the jug. If it’s too hot to touch comfortably, it’s likely in the right range.
Q: Why is my milk not frothing properly?
A: If your milk isn’t frothing properly, it could be due to a couple of factors. First, check if the steam wand is positioned just below the milk’s surface for aeration. Also, ensure your milk is cold and fresh, as older milk doesn’t foam as well. Lastly, make sure your steam wand is clean to allow for proper aeration.
Q: Can I steam milk without a thermometer?
A: Yes, you can steam milk without a thermometer. The key is to feel the side of the jug. When it becomes too hot to hold comfortably, it’s likely at the right temperature (around 150°F or 65°C). Practice will help you get a feel for the correct temperature.
Q: How long does it take to steam milk on the Breville?
A: It usually takes about 30 seconds to a minute to steam milk, depending on the amount of milk you're using and the power of your Breville machine. The milk should increase in volume and reach the desired temperature within this time.
Q: How do I clean the steam wand after using it?
A: After steaming milk, it’s important to clean the steam wand immediately to avoid milk residue buildup. Simply wipe the wand with a damp cloth, then purge the steam wand for a few seconds to clear out any leftover milk. This will keep the wand in good condition and ensure better performance.
Q: Why does my milk taste burnt?
A: Burnt milk can occur if the steam wand is too hot or if the milk is heated for too long. Be sure to stop steaming once the milk reaches the right temperature (around 150°F or 65°C). If the milk starts to smell burnt or you can’t hold the jug comfortably, it’s an indication that you’ve overheated the milk.
Q: Can I make latte art with steamed milk from the Breville?
A: Yes! Once you’ve mastered steaming milk with the Breville, you can create latte art. The key is achieving a smooth, velvety texture, and pouring the milk gently over the espresso. With practice, you can create designs like hearts, rosettas, or tulips.
Q: How do I avoid over-steaming my milk?
A: To avoid over-steaming, pay attention to the milk’s texture and temperature. Stop steaming once you’ve reached 150°F (65°C) and the milk has a smooth, velvety consistency. Over-steaming will cause the milk to become too foamy and dry. Practice will help you get the timing just right.